- Bộ lập trình PLC, cáp lập trình
- Màn hình HMI
- Cảm biến, phụ kiện
- Biến tần, khởi động mềm
- Máy cắt, Aptomat, khởi động từ
- Thiết bị đo lường, bảo vệ
- Thiết bị công nghiệp, tự động hóa
- Thủy lực, khí nén, van công nghiệp
- Motor, Servo motor, Servo Amplifier
- Thyristor, Module, SCR, SSR, Diode
- Phụ kiện tủ điện và vỏ tủ điện
- Cáp điện, ống bảo vệ cáp
- Thiết bị điện trung thế, truyền tải
- Thiết bị chống sét, kim thu sét
- Dụng cụ cầm tay, dụng cụ tool
- ATS, UPS, tụ bù, cuộn kháng
-
Thiết bị ngành xi măng, thép, nhiệt điện
-
Thiết bị vật tư điện nhẹ-viễn thông
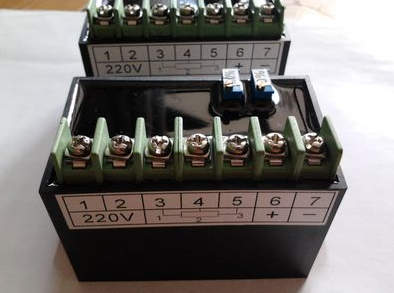
Modun chuyển đổi vị trí,position transmitting module WF-130M ,WFM-P, WFM-01, WF-M , wfm-130 DC4-20mA
WF-130M WFM-P position transmitting module WFM-01, WF-M DC4-20mA, wfm-130
Model: WFM-01,WFM-P Product use: Suitable for DKJ/ZKJ ( DKZ/ZKZ ) electric actuator
Drive Energy: Electric Actuator Properties: Attribute Value
Features:
·Input voltage range: AC210V ~ AC255V
· Output 4 ~ 20mA signal is photoelectrically isolated (can withstand 2000V surge voltage)
· Operating temperature range: -25 °C ~ +80 °C
· Accuracy: 5 ‰
·Load resistance range: ≤ 750 Ω
Position transmitter matching
WFM-P , WF-01 , WF-M , WF-130 , WFM-01
Tình trạng sản phẩm:
Ordinary debugging method
The first part: the stroke limit mechanism has been adjusted before leaving the factory, especially the angular stroke electric actuator does not allow adjustment of the cam set. The cam adjustment method: the cam mechanism is equipped with 4 cam pieces of different colors and numbers. Turn the actuator handwheel to bring the valve to the off position, 1 ( 2 ) adjust the screw groove ( depending on the field use and model ) , push down and turn the cam piece toward the closing direction until the cam just stops (open) Limit switch. Then turn the handwheel in the opposite direction to make the valve to the fully open position, use the screwdriver to align the 3 ( 4 ) adjustment screw slot, push it downwards and turn the cam piece toward the opening direction until the cam just presses the opening (off) to the travel switch (according to Depending on the field usage and model ) . The adjustment of the midway switch is similar to the travel switch.
Part 2: Check that the wiring is correct. Turn the handwheel to turn the actuator to the centered position.
Step 3: Turn on the power and adjust the phase sequence.
Step 4: Measure the output of each contact.
Step 5: If it is ZPF-09, you need to adjust WF-01 to make the output of the actuator 4-20mA .
Wiring and debugging methods for the transmitter module:
The following figure shows the wiring and function diagram of the bit-emitting module:
Bit transmitter module adjustment method:
1. Turn on the power and close the actuator in place. Look at the current output of terminals 1 and 2(the 1st is the positive pole 2 is the negative pole). If the current direction is opposite, the 3rd and 5thterminals are reversed. If the current value is too large or too small, you need to adjust the high-precision position sensor (potentiometer) in the stroke limiter to have a current value of 0 mA or 4 mA .
2. Turn the actuator into position and look at the current output of No. 1 and No. 2. If the current is too large or too small, you need to adjust the P2 (100%) full potentiometer to adjust to 10mA or 20mA .
3. Turn the actuator in place and look at the current output of No. 1 and No. 2 , at which time the current has a slight deviation. It needs to be adjusted to 0mA or 4mA by adjusting the P1 (0%) full potentiometer .
4. Repeatedly adjust 2 times to output accurate 4-20mA analog signal.
-
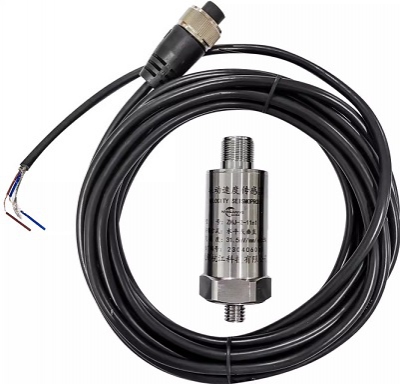
- Cảm biến đo độ rung vibration sensor SDJ-SG-2 SZ-6 ST-6 ST-2 ST-3 ST-4 ZHJ-2 VS-020 VS-2X VS-2 Liên hệ
-
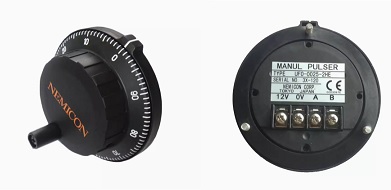
- Tạo xung bằng tay NEMICON internal secret control hand wheel pulse generator UFO-01-2Z1-99 UFO-01-2D-99 UFO-01-0025-2H Liên hệ
-
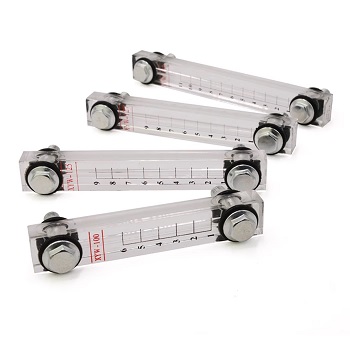
- Đo mức chất lỏng Liquid level gauge oil level gauge water level gauge XYW-76 80 100 125 127 150 200 250 300 350 Liên hệ
-
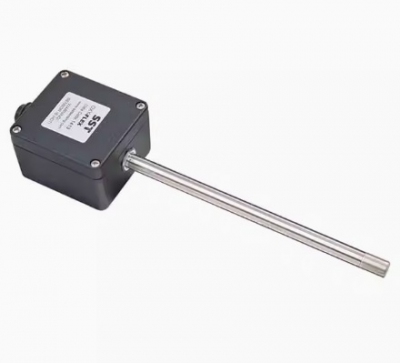
- Cảm biến oxy OXY-FLEX-0-H Liên hệ
-
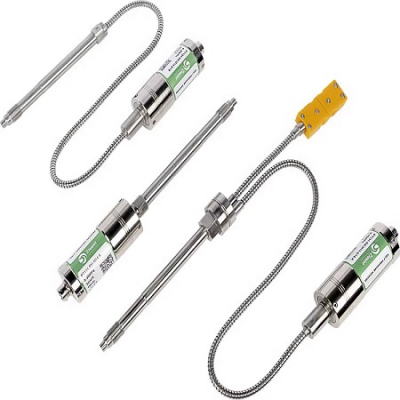
- Cảm biến áp suất chịu nhiệt độ cao PT133 high temperature melt pressure sensor extruded chemical fiber temperature and pressure integrated 4~20mA transmitter Liên hệ
-

- Cảm biến áp suất chịu nhiệt độ cao PT111 high temperature melt pressure transmitter 4~20mA rubber and plastic extrusion equipment polymerization molding machinery Liên hệ
-
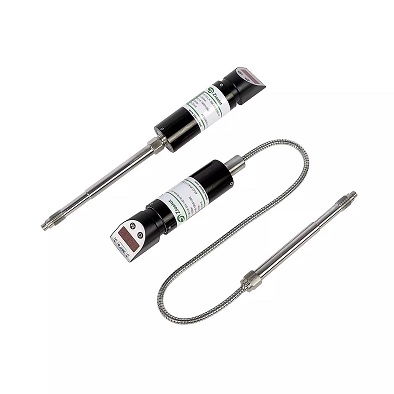
- Cảm biến áp suất chịu nhiệt độ cao PT125 high temperature resistant and explosion-proof remote control 4~20mA intelligent digital display melt pressure transmitter Liên hệ
-

- Cảm biến áp suất chịu nhiệt độ cao PT133B high temperature melt pressure sensor plastic extrusion granulator 4~20mA pressure transmitter Liên hệ
-
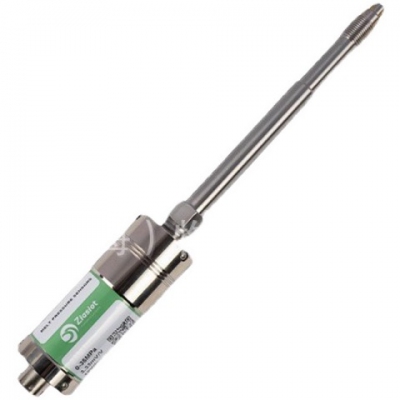
- Cảm biến áp suất chịu nhiệt độ cao PT112 high temperature melt pressure sensor sheet plastic extrusion 4~20mA steam pressure hydraulic oil pressure Liên hệ
-

- Cảm biến áp suất chịu nhiệt độ cao PT131 high temperature melt pressure transmitter temperature and pressure integrated extruder chemical fiber high precision Liên hệ
TÂN THÀNH CAM KẾT
- Sản phẩm, hàng hóa chính hãng.
- Giá cả cạnh tranh.
- Dịch vụ chăm sóc khách hàng tận tâm.
Thông Tin Công Ty
Chính sách và quy định
Hỗ trợ khách hàng
THÔNG TIN LIÊN HỆ:
-------------------------------
CÔNG TY TNHH THIẾT BỊ CÔNG NGHIỆP TTH
Trụ sở: số 124 ngõ 79 Yên Hoà-Cầu giấy-HN
Kinh doanh 1 : 0816.861.515
Kinh doanh 2 : 0836.861.515
Email: tthkinhdoanh@gmail.com
Email: tthkinhdoanh01@gmail.com


